Night riding opens up a whole new dimension to mountain biking. Those familiar trails transform into exciting new challenges under the cover of darkness. But conquering technical singletrack, navigating root sections, and bombing downhill runs after sunset requires more than just courage—it demands the right lighting setup.
Why Night Riding is Revolutionizing Mountain Biking
Night mountain biking has seen explosive growth in recent years. With busier work schedules and limited daylight hours, especially during winter months, riders are increasingly turning to nighttime adventures to get their adrenaline fix. Beyond necessity, there's something magical about experiencing familiar trails transformed by darkness and shadows.
According to a recent mountain biking trends report, night riding participation has increased 35% since 2023, with dedicated night events and races becoming mainstream across the country.
Understanding the Science of Night Vision
Before diving into equipment options, it's important to understand how human vision works at night. Our eyes use two types of photoreceptors: cones (for color and detail in bright conditions) and rods (for low-light vision). When transitioning to night riding, your eyes need approximately 20-30 minutes to fully adapt to darkness.
This adaptation process affects how you should approach lighting:
- Begin rides with lower brightness settings to maintain natural night vision
- Avoid looking directly at other riders' lights or bright objects
- Consider using red lights for pre-ride setup to preserve night adaptation
- Remember that peripheral vision is more sensitive in low light
For more in-depth information on night vision biology, check out this Wikipedia article on scotopic vision.
The Dual-Light Mountain Biking System
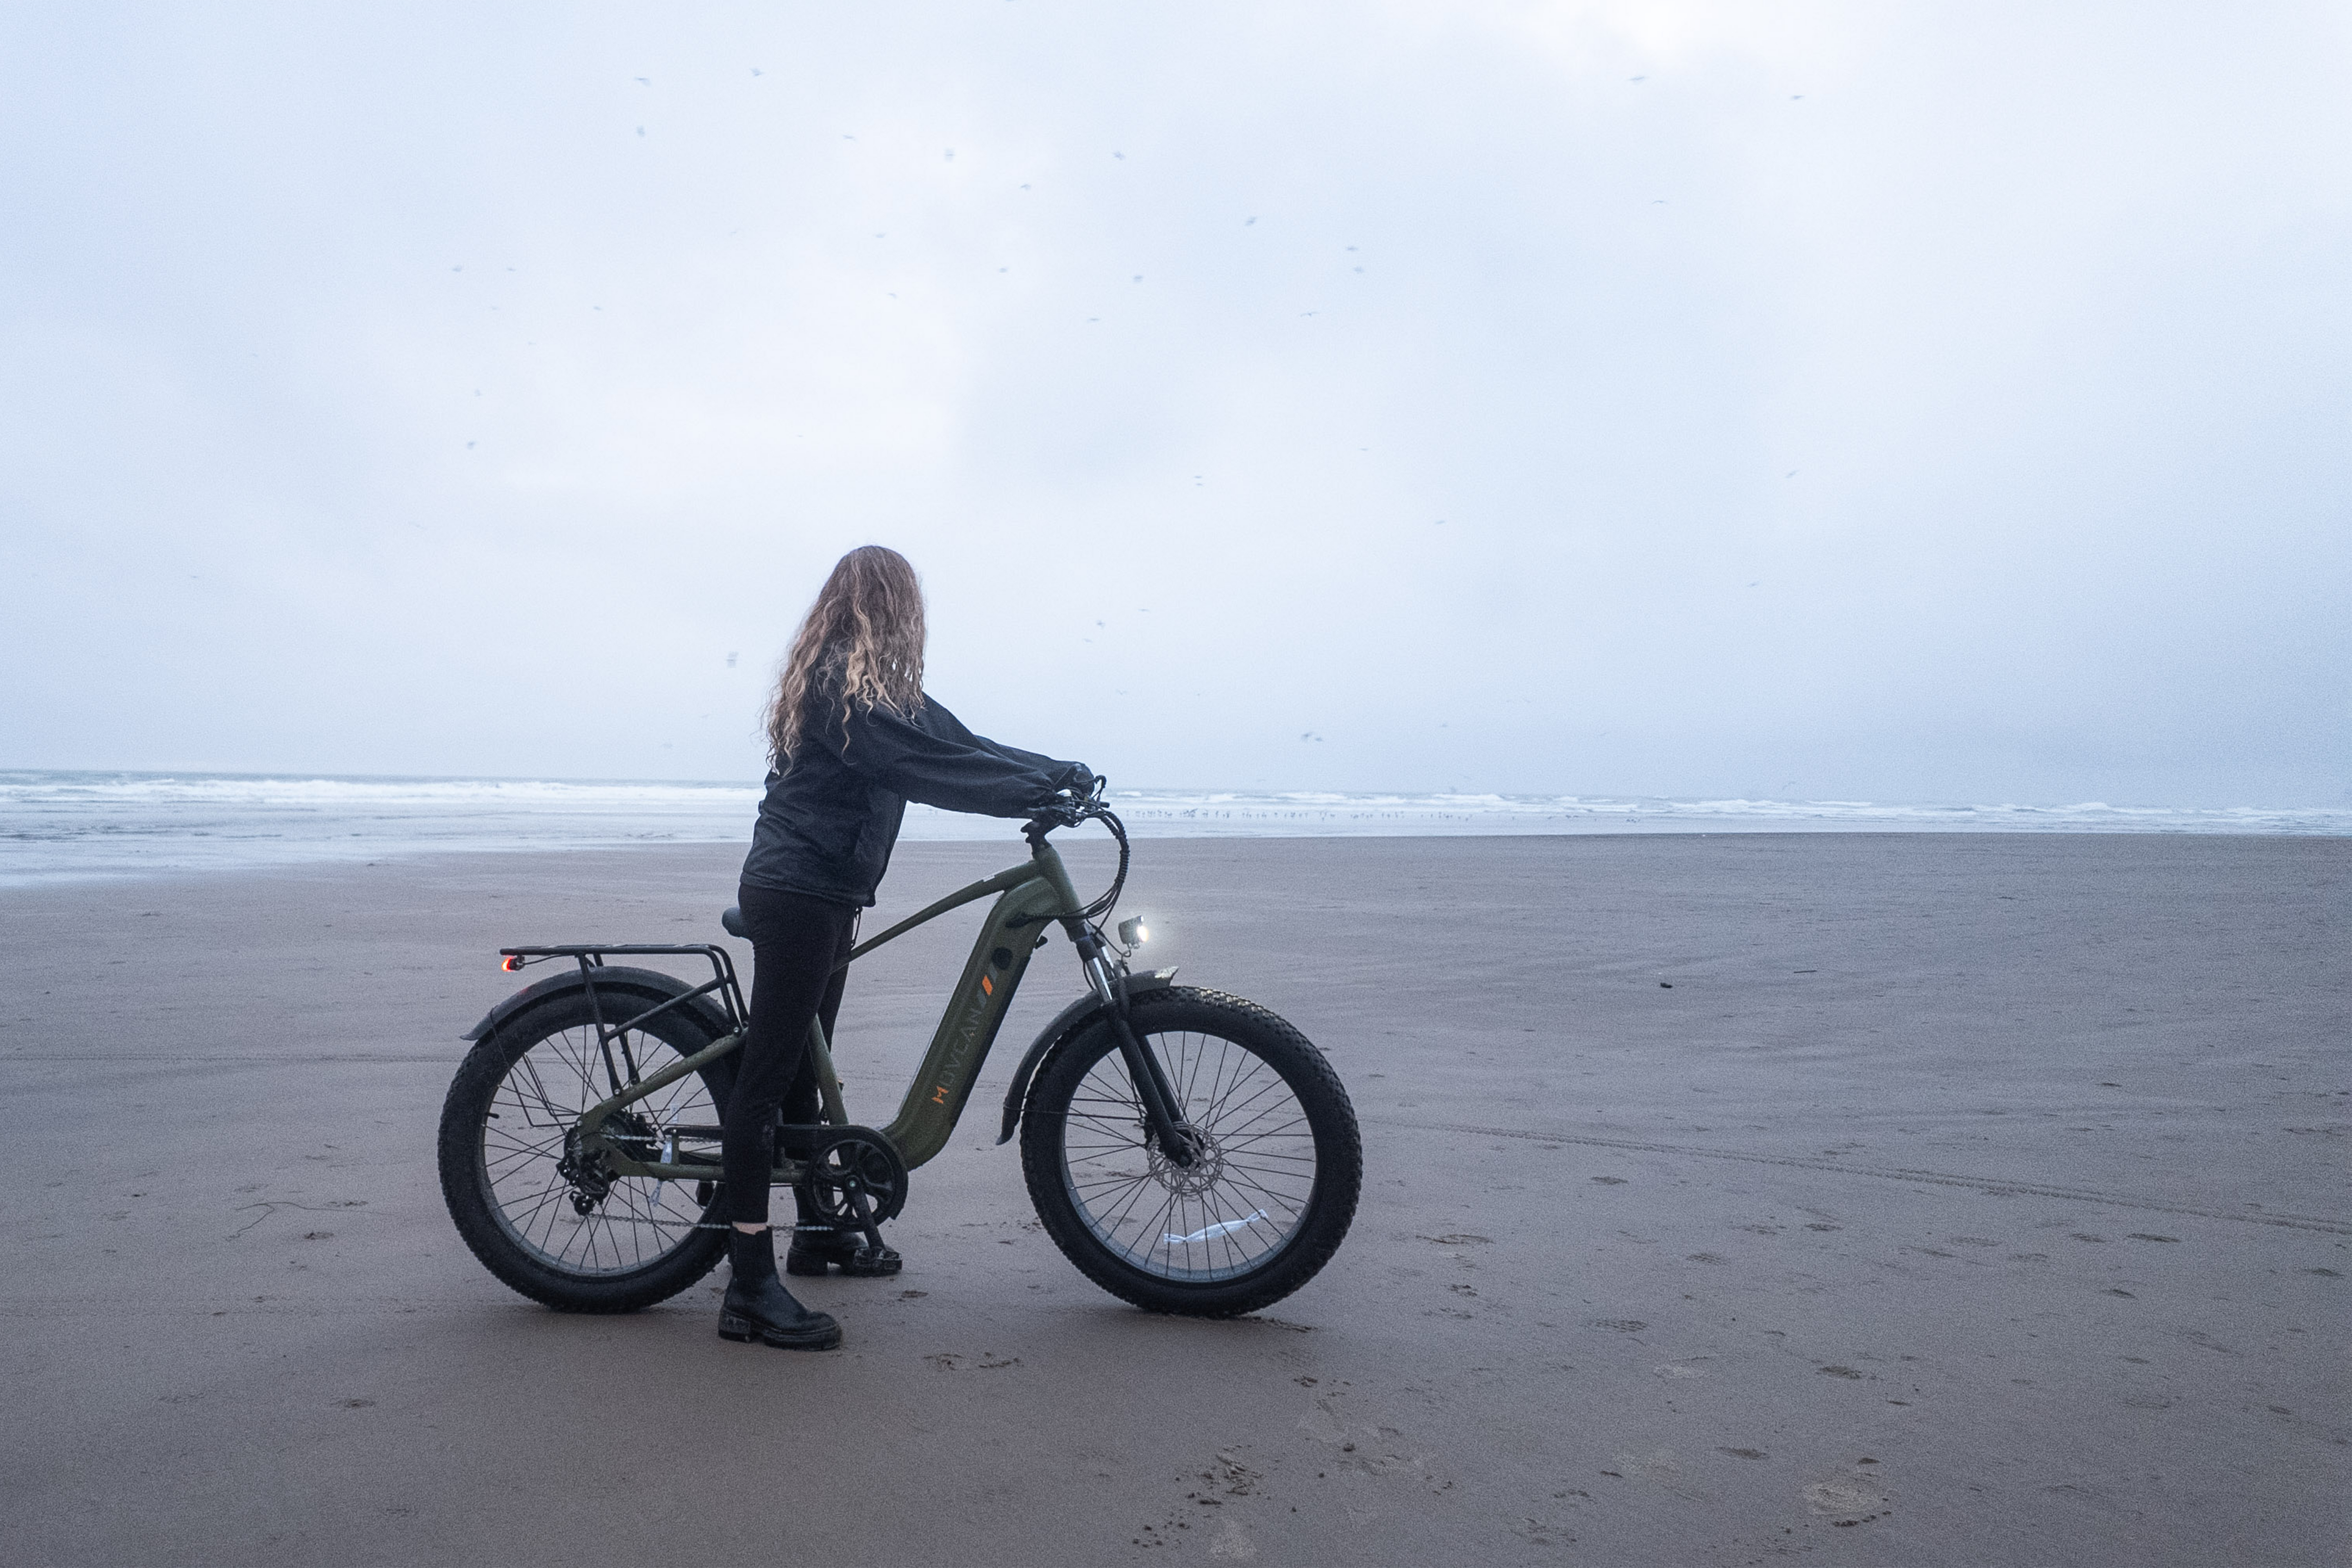
The gold standard for trail lighting is a dual-light system: one light mounted on your helmet and another on your handlebars. This combination provides crucial depth perception and eliminates shadowing that can obscure trail obstacles.
Helmet-Mounted Lights
Your helmet light serves as your "look light," allowing you to see wherever you turn your head. Key considerations include:
- Weight distribution: Lighter is better to reduce neck fatigue
- Mounting security: Must stay firmly in place on rough terrain
- Beam pattern: Focused spot beam that throws light far down the trail
- Controls: Easy to operate with gloves while riding
Handlebar-Mounted Lights
Your bar-mounted light provides consistent forward illumination regardless of where you're looking. Essential features include:
- Wide beam pattern: Floods the immediate trail area
- Sturdy mount: Must withstand extreme vibration
- Quick-release capability: For easy removal when not in use
- Water resistance: At least IPX6 rating for all-weather reliability
When both lights work in tandem, they create a comprehensive lighting environment that mimics natural vision better than any single light source can achieve.
Lumen Specifications: Understanding What You Really Need
While manufacturers often emphasize maximum lumen output, raw power isn't everything. Most riders find 1500-2000 lumens sufficient for even the most technical night riding, with proper beam distribution being more important than sheer brightness.
Consider these factors beyond just lumen count:
- Beam pattern: The shape and distribution of light matters more than total output
- Color temperature: 5000-6000K provides optimal trail definition
- Consistency: Steady output is better than extreme brightness that quickly dims
- Programming options: Multiple brightness modes for climbing versus descending
A well-designed 1200-lumen light with optimized beam pattern often outperforms a poorly designed 2500-lumen light for actual trail visibility.
Battery Technology and Runtime Considerations
Modern trail lights use lithium-ion battery technology, but significant differences exist between systems. When evaluating battery performance, consider:
- Runtime at different output levels: Most lights step down from maximum brightness to preserve battery
- Cold-weather performance: Battery capacity drops significantly in freezing temperatures
- Charging speed: How quickly can you recharge between rides
- Battery placement options: Frame-mounted, jersey pocket, or integrated designs
For epic rides, consider external battery packs that can extend runtime while distributing weight more effectively across your bike or body.
Programming and Smart Features
Today's premium lighting systems offer advanced features that can significantly enhance your night riding experience:
- Adaptive brightness: Automatically adjusts output based on speed
- Remaining runtime indicators: Displays accurate time left at current settings
- Bluetooth connectivity: Adjustable from smartphone apps
- Crash detection: Automatically increases brightness if sudden deceleration is detected
According to SingleTrack World's latest lighting review, these smart features are becoming standard in mid-to-high-end lighting systems.
Setting Up Your Lights for Different Trail Types
Different terrain demands different lighting approaches. Here's how to optimize your setup:
Technical Singletrack
For technical trails with rocks, roots, and tight turns:
- Position helmet light slightly downward
- Use maximum width on handlebar light
- Consider using amber lens filters for improved depth perception
Fast Flowing Trails
For high-speed flow trails:
- Aim helmet light farther down trail
- Increase overall brightness
- Position handlebar light to minimize shadow casting from obstacles
Climbing Sections
For extended climbs:
- Reduce brightness to conserve battery
- Focus more on wide, near-field illumination
- Consider switching off helmet light completely
Weather Considerations
Trail conditions can dramatically affect lighting requirements:
- Fog and mist: Lower brightness reduces backscatter; yellow filters improve visibility
- Rain: Position lights to minimize reflection from wet surfaces
- Snow: Reduce overall brightness as white surfaces reflect significantly more light
Our MoVcan All-Weather Riding Guide provides detailed strategies for adapting your equipment to different conditions.
Group Riding Etiquette
When riding in groups at night, proper light etiquette is essential:
- Avoid pointing helmet lights directly at other riders
- Stagger brightness levels within the group
- Front riders should use stronger handlebar lights
- Tailriders benefit from stronger helmet lights
- Maintain greater distance between riders compared to daytime
Budget Considerations: Building Your System Incrementally
Quality lighting represents a significant investment. If budget constraints are a concern, consider this progressive approach:
- Start with a quality helmet light (most versatile for solo use)
- Add handlebar light when budget permits
- Upgrade batteries before upgrading lights
- Consider previous-generation models for better value
Entry-level dual systems now start around $150, while professional-grade setups can exceed $500. The good news is that today's mid-range options ($200-300) offer performance that rivals premium systems from just a few years ago.
Maintenance and Longevity
With proper care, quality lighting systems can last many seasons:
- Clean connections with electrical contact cleaner
- Store batteries at 40-60% charge during off-seasons
- Check mounting hardware regularly for cracks or fatigue
- Update firmware when available
- Replace damaged cables immediately rather than using temporary fixes
Emerging Technologies to Watch
The trail lighting landscape continues to evolve rapidly. Innovations to watch include:
- Integrated frame designs: Lights built directly into handlebars and frames
- Dynamic beam shaping: LEDs that adjust pattern based on speed and terrain
- Extended-range wireless charging: Recharge while riding from hub dynamos
- Augmented reality overlays: Projection systems that highlight trail features
These technologies are beginning to appear in prototype form and may revolutionize night riding in coming seasons, according to the International Mountain Bicycling Association's technology forecast.
Night Riding Safety Essentials
Beyond lighting, night riding requires additional safety considerations:
- Always carry backup lighting
- Ride with partners when possible
- Share your route and expected return time
- Carry a fully charged phone
- Consider using location-sharing apps
- Pack extra layers as temperatures drop quickly after sunset
Conclusion
Night trail riding offers a thrilling dimension to mountain biking that every rider should experience. With today's lighting technology, darkness no longer limits adventure—it enhances it. The right lighting setup transforms familiar trails into new challenges and extends your riding season throughout the year.
Whether you're a dedicated night rider or someone looking to extend your daily sessions beyond sunset, investing in quality trail lighting will dramatically expand your mountain biking horizons.
Need help or have questions?
Contact our support team at support@movcan-bike.com
Movcan | Ride Smart. Ride Confident.
Share:
Urban Night Commuting Guide: Safety Tips for Cyclists After Dark
Seasonal Night Riding Guide: Month-by-Month Tips