Your Suspension System
At the heart of every great trail experience is a properly tuned suspension system. Modern mountain bike suspension has evolved dramatically in recent years, with advanced air spring curves, position-sensitive damping, and electronically controlled systems becoming increasingly common.
The two primary components you'll be working with are:
- Front Fork - Handles impacts from the front wheel, typically offering 100-200mm of travel depending on riding discipline
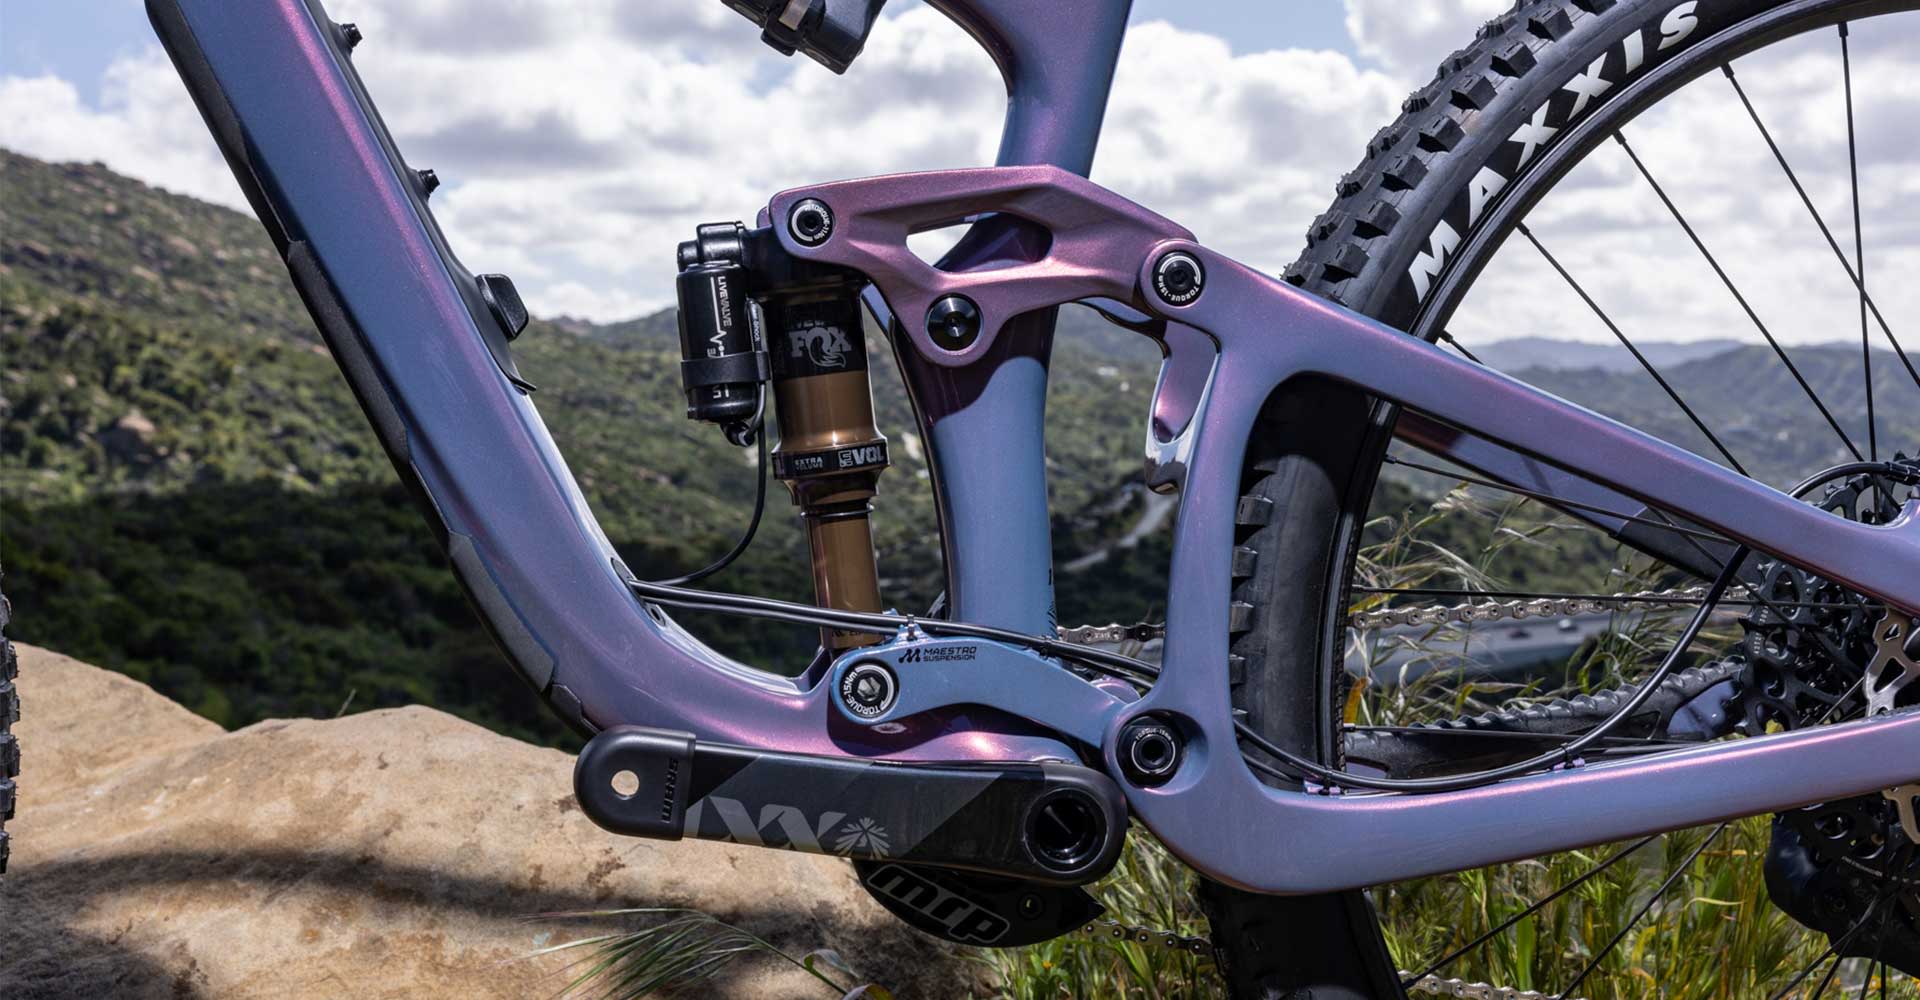
- Rear Shock - Manages rear wheel impacts and varies significantly based on frame design and intended use
Before diving into adjustments, it's critical to understand the fundamental principles of mountain bike suspension design and how your specific bike's kinematics influence tuning decisions.
Your suspension leverage ratio plays a crucial role in how your bike will feel and perform on the trail. This ratio describes how much the shock compresses relative to rear wheel movement and varies throughout the travel range.
Essential Tools for Suspension Tuning
Having the right tools on hand makes suspension setup significantly easier:
- Shock pump - High-pressure pump with accurate gauge for air spring adjustments
- Suspension pressure chart - Manufacturer recommendations based on rider weight
- Tape measure or zip tie - For measuring sag and travel usage
- 2.5mm and 4mm hex keys - For adjusting most suspension components
- Notebook or app - To track settings and changes
The latest digital suspension setup tools like ShockWiz can provide data-driven insights into your suspension performance, but the fundamentals still require hands-on understanding.
Basic Suspension Setup
Step 1: Set Sag
Sag is the amount your suspension compresses under static rider weight in riding position. This foundational setting determines how your bike will sit in its travel.
For trail riding:
- Front fork: 15-20% of total travel
- Rear shock: 25-30% of total travel
For aggressive enduro/downhill:
- Front fork: 20-25% of total travel
- Rear shock: 30-35% of total travel
To set sag properly:
- Dress in your full riding gear
- Mount the bike next to a wall or have a friend hold you
- Stand on the pedals in your natural riding position
- Gently bounce a few times to overcome initial stiction
- Sit still and measure how much the suspension has compressed
Step 2: Adjust Rebound Damping
Rebound controls how quickly your suspension returns after compression. Finding the right balance is crucial:
- Too slow: The suspension packs down on consecutive hits
- Too fast: The bike feels unstable and may buck you forward
Start with manufacturer recommendations, then fine-tune:
- Set rebound to middle setting
- Compress fork/shock and observe return speed
- For front fork: Aim for a controlled return that doesn't top out harshly
- For rear shock: Slightly faster than the fork to maintain chassis balance
A simple test is the "curb drop" - ride off a 12-inch curb and observe how the bike recovers. Proper rebound should allow one controlled oscillation before settling.
Step 3: Adjust Compression Damping
Compression damping controls how your suspension responds when hitting obstacles:
- Low-speed compression: Affects brake dive, pedaling efficiency, and small bump sensitivity
- High-speed compression: Controls big hit performance and bottom-out resistance
Most trail bikes benefit from:
- Minimal low-speed compression for pedaling platforms
- Moderate high-speed compression to prevent harsh bottom-outs
Advanced Tuning Techniques
Volume Spacers/Tokens
One of the most effective tuning tools in modern air suspensions is volume spacers. These plastic tokens reduce the air volume in your suspension, making it more progressive (firmer) toward the end of travel.
Benefits of adding volume spacers:
- Increased bottom-out resistance
- More supported mid-stroke
- Ability to run lower air pressure for better small bump sensitivity
The latest research on suspension kinematics suggests most riders benefit from at least some volume reduction in both fork and shock.
Negative Spring Tuning
Modern forks like Fox's EVOL and RockShox's DebonAir utilize enlarged negative air chambers to improve small bump sensitivity. Finding the perfect balance between main chamber and negative chamber pressure is key to achieving that "stuck to the ground" feeling on technical terrain.
For maximum sensitivity:
- Release all air from the suspension
- Slowly compress the suspension through its full travel several times
- Add air in small increments, cycling the suspension after each addition
- This ensures proper equalization between positive and negative chambers
High/Low-Speed Compression Adjustment
If your suspension offers separate high and low-speed compression circuits, you can achieve much more refined performance:
- Low-speed settings (0-3 clicks from open): Best for small bump compliance
- Mid-range settings (4-8 clicks): Improved pedaling efficiency and cornering support
- Firm settings (9+ clicks): Reserved for smooth climbs or park days
Terrain-Specific Adjustments
The perfect suspension setup varies significantly based on terrain. Here's how to optimize for different conditions:
Rocky, Technical Trails
- Reduce air pressure by 5-10 PSI
- Open compression damping 1-2 clicks
- Slow rebound slightly to maintain control
Flow Trails and Bike Parks
- Increase air pressure by 5-10 PSI
- Add compression damping for more support
- Speed up rebound for better recovery between features
Enduro Racing
- Set sag at 25-30% front and rear
- Use volume spacers for bottom-out resistance
- Balanced rebound that prioritizes control over comfort
Troubleshooting Common Issues
Problem: Frequent Bottom-Outs
Solution: Add volume spacers and/or increase air pressure by 5-10 PSI
Problem: Harsh on Small Bumps
Solution: Reduce air pressure, open low-speed compression, ensure negative spring is properly initialized
Problem: Excessive Brake Dive
Solution: Increase low-speed compression, consider a fork with better support characteristics
Problem: Bouncy/Unstable Feeling
Solution: Slow down rebound damping, check for proper high/low-speed compression balance
The Future of MTB Suspension Technology
The mountain bike suspension landscape continues to evolve rapidly. The most exciting developments for 2025 include:
- Electronic Adaptive Suspension - Systems that automatically adjust based on terrain and riding dynamics
- Position-Sensitive Damping - Technology that provides different damping characteristics throughout the travel range
- Alternative Damping Fluids - New shear-thickening fluids that respond differently to impact forces
- Integrated Telemetry - Built-in sensors that provide real-time feedback to riders
Industry leaders are focusing on making advanced suspension more user-friendly while maintaining the adjustability expert riders demand.
Conclusion
Proper suspension tuning transforms a good mountain bike into a great one. While it may seem complex initially, a methodical approach focusing on fundamentals will yield impressive results. Remember that suspension settings are personal, and what works for others may not be ideal for your weight, riding style, and local terrain.
Start with the manufacturer's recommendations, make small, systematic adjustments, and document your changes. Most importantly, trust your feelings on the trail – the best suspension setup is the one that gives you confidence and control.
For more detailed guidance on specific suspension components, check out our mountain bike fork comparison guide or learn about the latest MTB technology trends.
Need help or have questions?
Contact our support team at support@movcan-bike.com
Movcan | Ride Smart. Ride Confident.
Share:
Optimizing Cycling Performance and Recovery: Science-Backed Strategies for 2025
Guide to Electronic Shifting Systems for Cyclists